It was time for a big decision : pop round to a bandmate's house and use his router and handheld drill, or take a trip to a friend's very well-equipped workshop and make a nuisance of myself for the day. I elected to do the latter, so although there were CNC machines and all manner of nice toys there I restricted myself to tools that I could handle myself : basically a pillar drill and a plunge router, plus hand tools like chisels. It went a bit like this:
First step was to rout out the neck pocket. The first observation was that an Explorer body shape and a bolt-on Fender-scale neck means no upper fret access - se I decided to ignore the headstock-end holes in the neck heel, and set things out such that the neck is less far in to the body than normal on a bolt-on - not by much but enough to help fret access. For that reason I am using ferrules rather than a neck plate under the neck bolts and will have to drill 2 additional screw holes in the neck heel.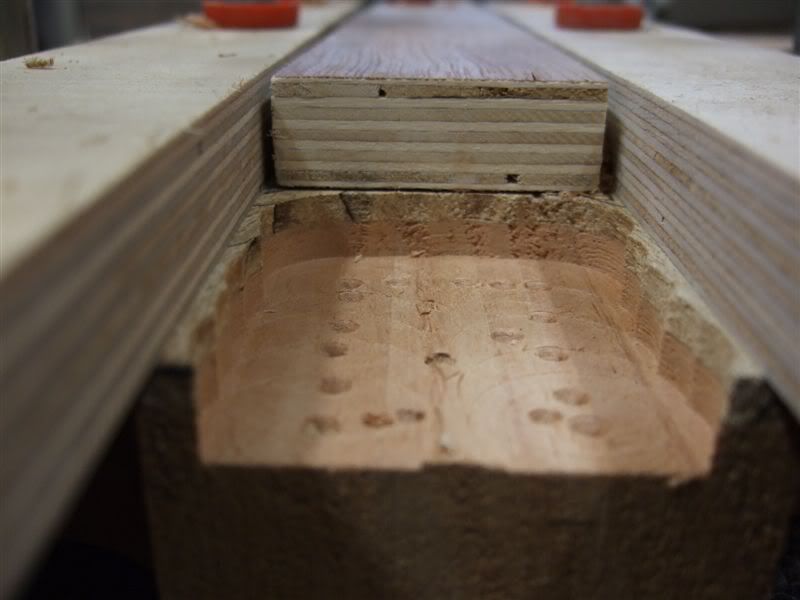
Step 1 : use a pillar drill and Forstner bit to quickly and roughly get rid of most of the neck pocket material.
Step 2 : Rout the rest of the pocket to the correct depth and a clean edge. the pencil line shows the curved profile at the end of the neck - time for the chisels . . .
Step 3 : Chisels out to clean out the curved end of the neck pocket - very impressed with myself so far !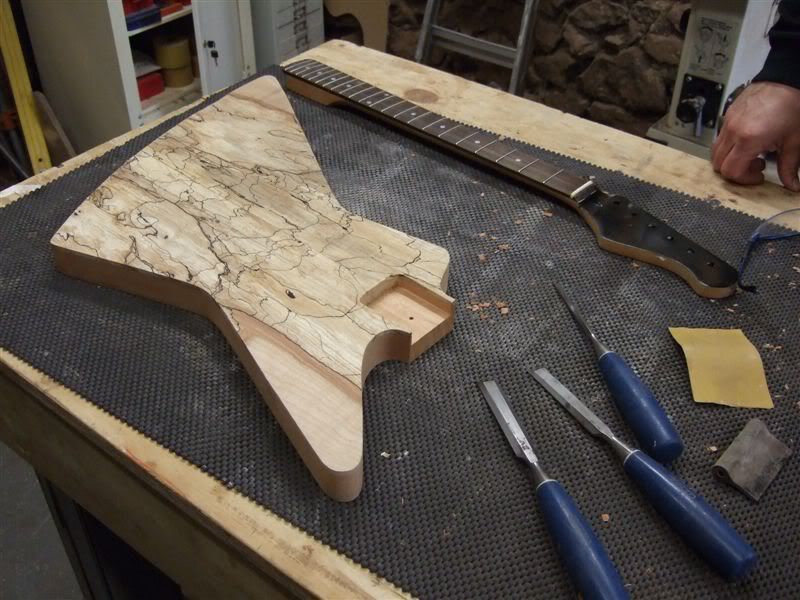

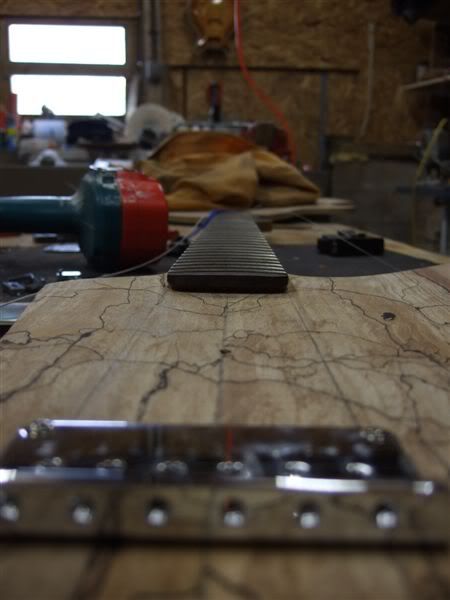
Next the bridge position needed to be set. This involved some careful measuring, the finding of the centreline and then some 'by-eye' adjustments to get a couple of guide strings centred just so. Then the position of the bridge was marked and the locating holes and string holes were drilled (the bridge is a fixed, through-body strung type complete with rear ferrules)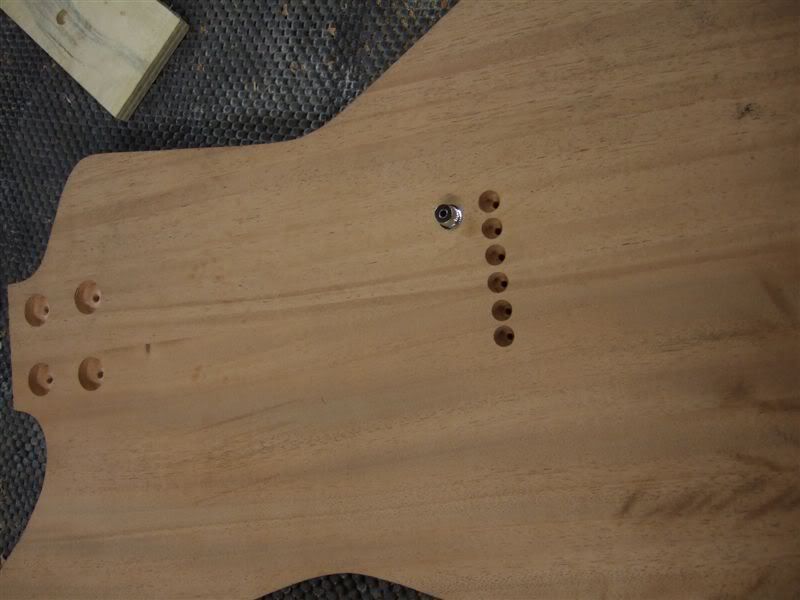
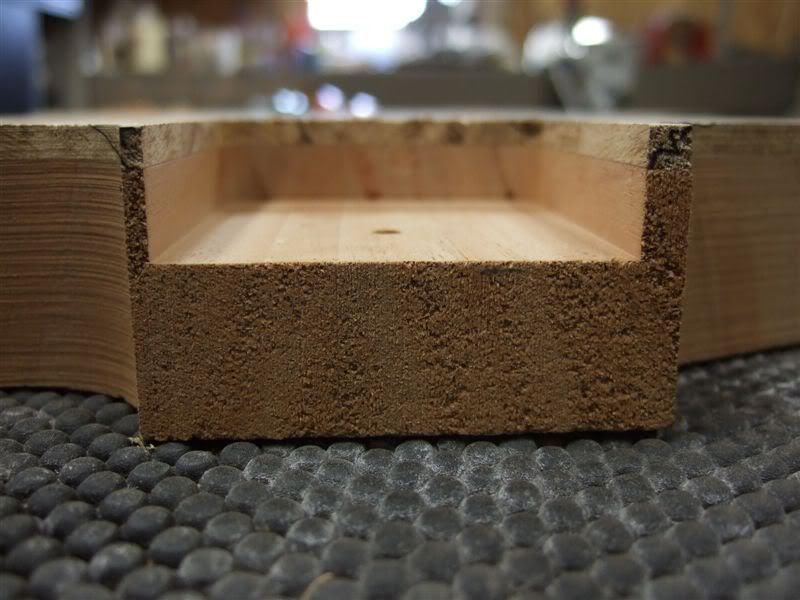
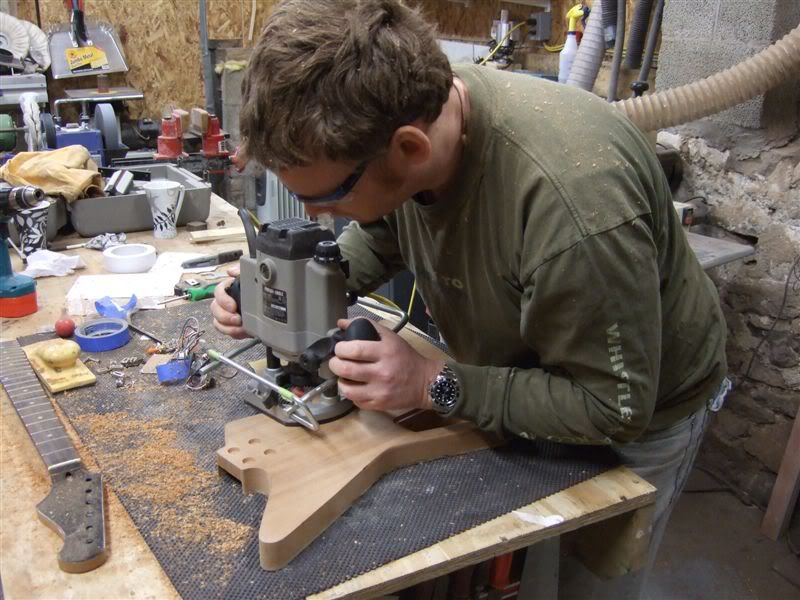
 Same 2-step drill-then-rout approach to the control cavity (single volume, jack socket on the side, no tone - nice and simple but with room for future upgrades)
Then use a different router bit to round over the back of the body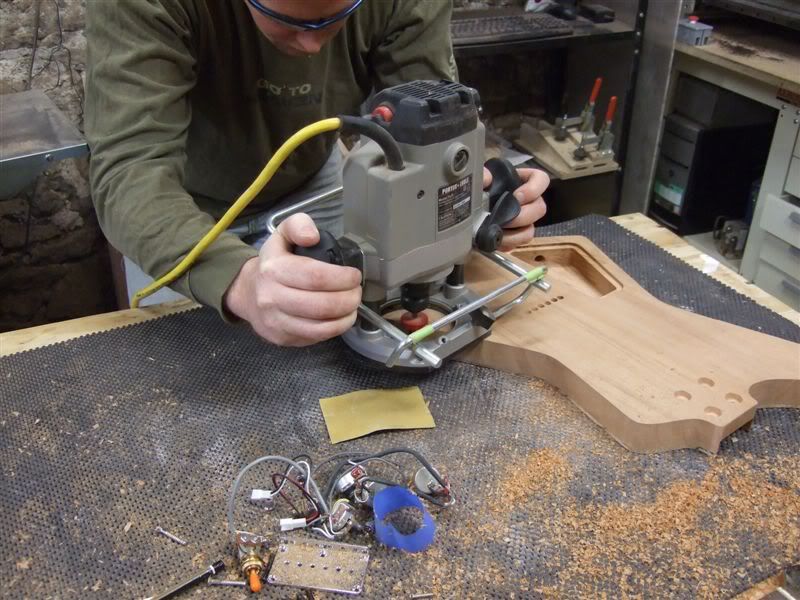
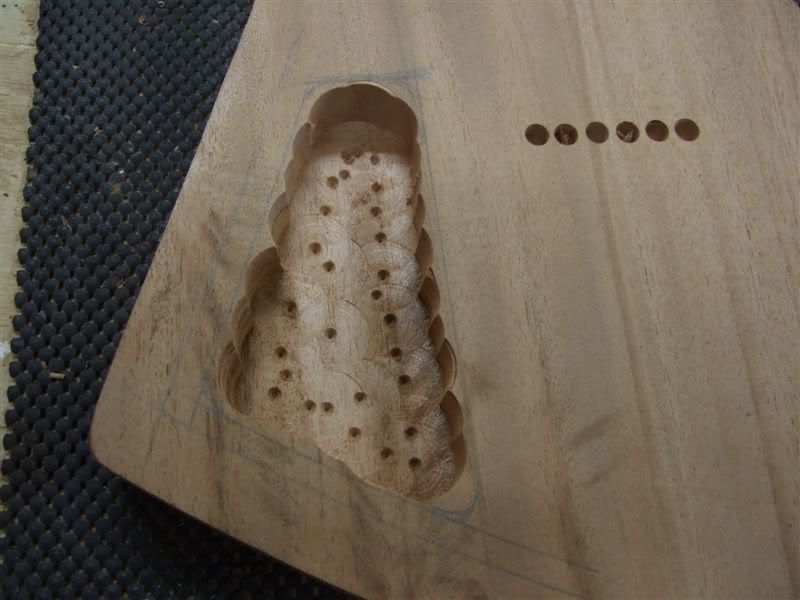
The pickup cavity and volume and jack socket holes were also drilled (or drilled then routed in the case of the pickup cavity). The end result so far is this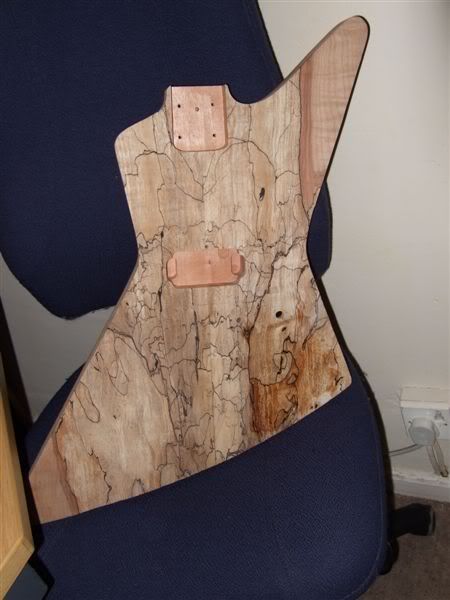

Saturday, April 5, 2008
Routing and drilling the body
Subscribe to:
Post Comments (Atom)
2 comments:
I'm guessing that, for the thru-body string holes, you start by drilling thin holes from front to back (pillar drill) and then widen out the holes on the back of the body to fit the ferrules?
Looking good!
That workshop looks VERY familiar...Was your "friend" just there to take the pictures? ;-) :D
Looking good thus far Tim. Loving the spalted Maple!
Post a Comment