The next step should have been to sand the body through various grades of abrasive to remove all the machining marks that were in it and get it nice and flat and ready for the superglue used to stabilise the top, but there were a couple of complications : one was that using abrasive coarse enough to remove the major machining marks was taking the very soft spalt out in pieces so dips and hollows developed. Second problem that was if Iw anted to harden the finsh first with the glue, it hadn't arrived from the seller (bought via eBay's smaller cousin EBID) - after 2 weeks of b$ from the seller I had to get my money back through Paypal and sourced some locally (that'll teach me to try and save thruppence . . .) . This left precious little time to do things properly and I did consider dropping out of the challenge and making a good job of it in my own sweet time.
In the end I pressed ahead and accepted that it wouldn't be flawless - but then I'm making it, so it was probably always destined to be so ;-)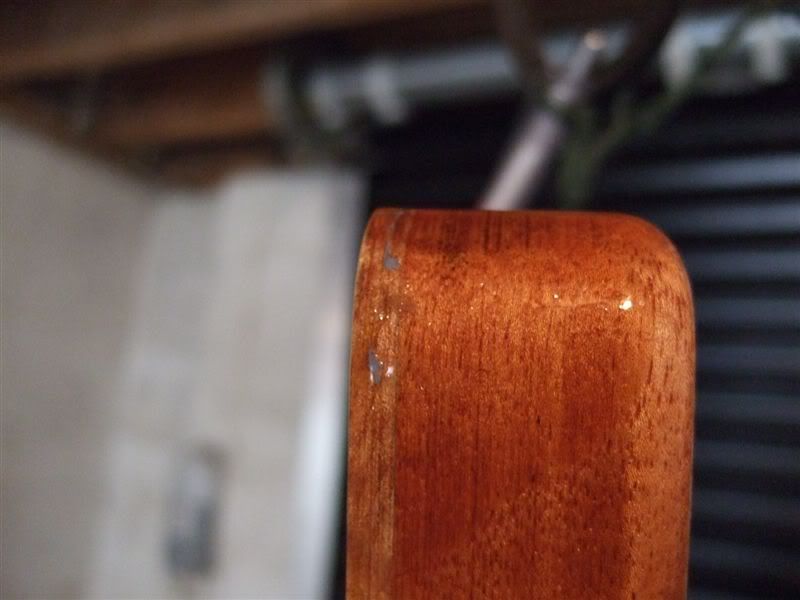
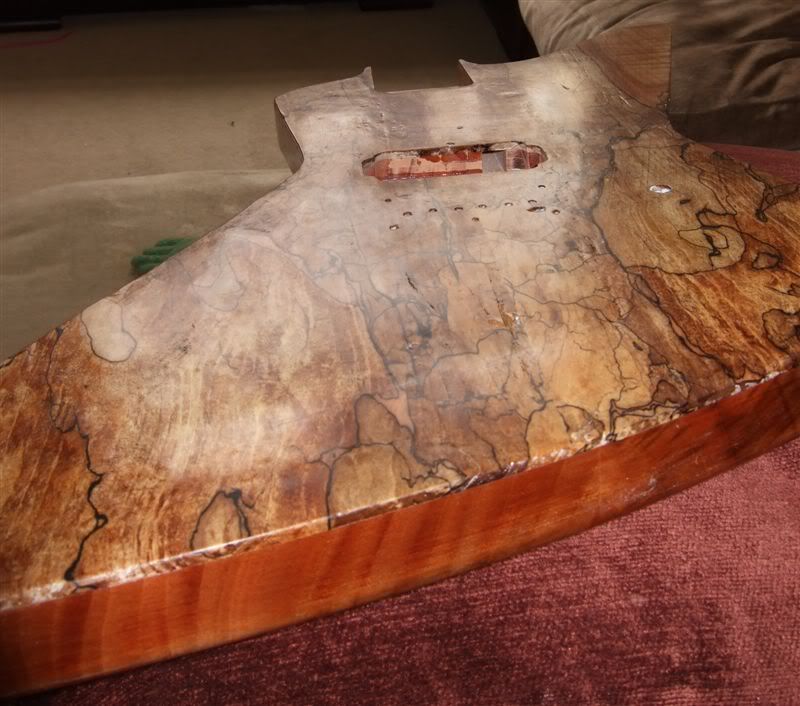
First up : superglue. No rocket science here - got in a well ventilated area (just inside my open garage door) got some protective gloves on, squirted the glue on to the body and quickly spread it out with my gloved fingers. I was particularly pleased by the way the wood darkend as soon as it went on and less pleased by the lapse in concentration which meant that my glove got stuck fast to the setting glue - see pic - DOH! Still, better than flesh . . . I couldn't be bothered to sand it back and do it again so some small pieces of rubber remain embedded as a reminder. I only meant to coat the top but it spilled down the sides a bit, so I did all the sides too. It set within minutes, did a second coat and rubbed it back a little with sandpaper. Next the actual finish : I was recommended Rustin's Clear Plastic as it can be brushe
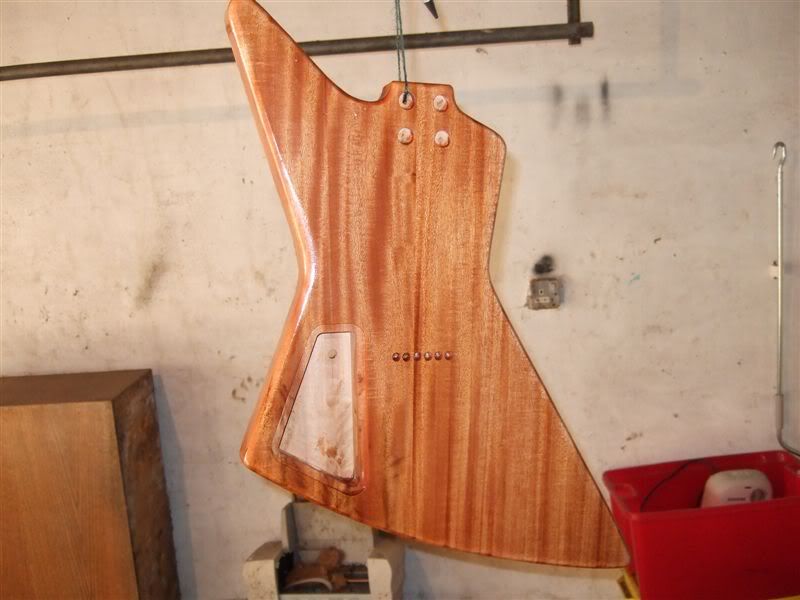 d on and gives a good finish. I mixed up the full 250ml in the bottles but that was FAR too much - I used very little to get my 3 good coats. Simply brushed it on as per the instructions - a very light sand between coats then left for 24 hours to harden.
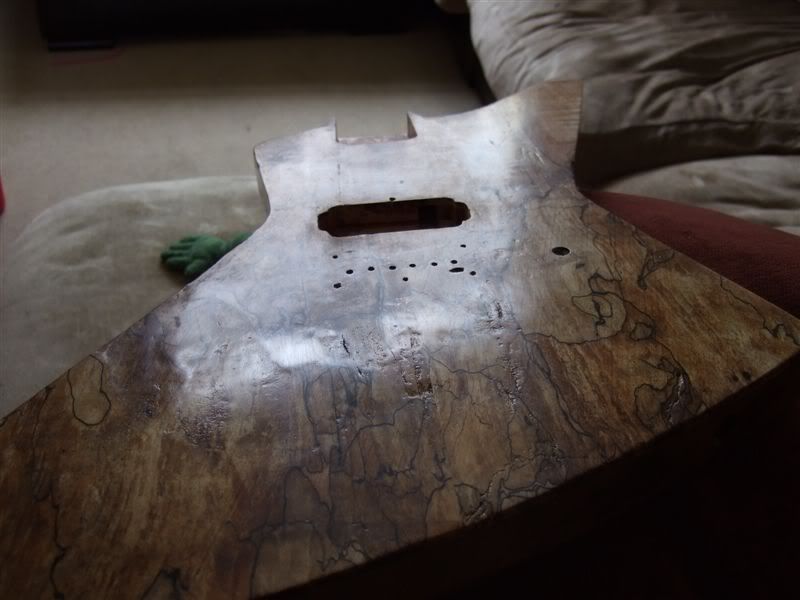
Now the big challenge : with so little preparation (and lets face it, effort compared to a 'proper' finishing job, how good could I get the final surface finish ? As I explained above, the guitar face was no longer flat - the hollows and ridges made block sanding fairly ineffective - so I went through grades of abrasive (240, 400, 800, 1200) using a sanding block and then with the MkI Index Digit (TM) to get in to the dips. About half way through this process it actually started to look pretty ok. To finish it off I dug out some 0000-grade steel wool I had from a previous guitar modding effort and used that, then used the car swirl-removing cream from that same project to buff it up a bit more.
You know what - I think the end result has a certain workhorse charm !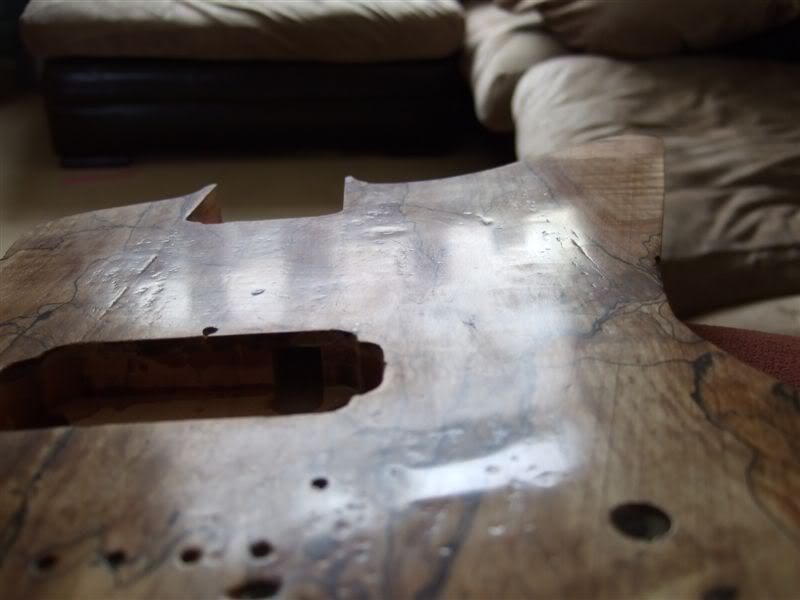

Saturday, April 19, 2008
Body finishing
Subscribe to:
Post Comments (Atom)
No comments:
Post a Comment