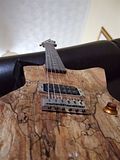
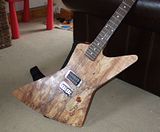
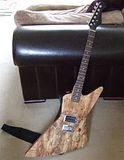
One month and a maximum of £100 to build or upgrade the best instrument you can. What do you do ?


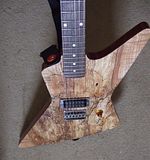
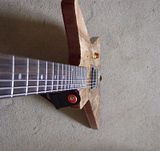
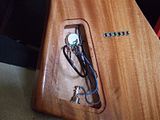
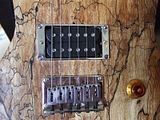
I screwed it all together (all that careful measuring seems to have paid off) - very chuffed with the tight neck fit - wired in the DiMarzio Super Distortion pickup and the pot that I ripped out of an old Epiphone a few years ago (I used the one closest to its nominal 500k value - cheap pots seem to vary a lot). I'm not much cop with a soldering iron so I'm glad I went for the simple option of single pickup and volume - nice and easy. Getting the intonation set accurately took a little while but I got there in the end.
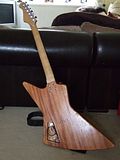
I'll get some pictures of the finshed beast done tomorrow in daylight along with a further report on how it sounds and plays : for now though I'm very very surprised and impressed at how good this £100 mongrel is.
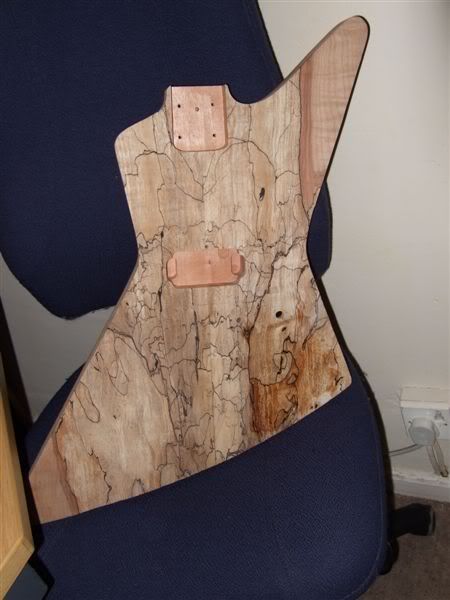
The next step should have been to sand the body through various grades of abrasive to remove all the machining marks that were in it and get it nice and flat and ready for the superglue used to stabilise the top, but there were a couple of complications : one was that using abrasive coarse enough to remove the major machining marks was taking the very soft spalt out in pieces so dips and hollows developed. Second problem that was if Iw anted to harden the finsh first with the glue, it hadn't arrived from the seller (bought via eBay's smaller cousin EBID) - after 2 weeks of b$ from the seller I had to get my money back through Paypal and sourced some locally (that'll teach me to try and save thruppence . . .) . This left precious little time to do things properly and I did consider dropping out of the challenge and making a good job of it in my own sweet time.
In the end I pressed ahead and accepted that it wouldn't be flawless - but then I'm making it, so it was probably always destined to be so ;-)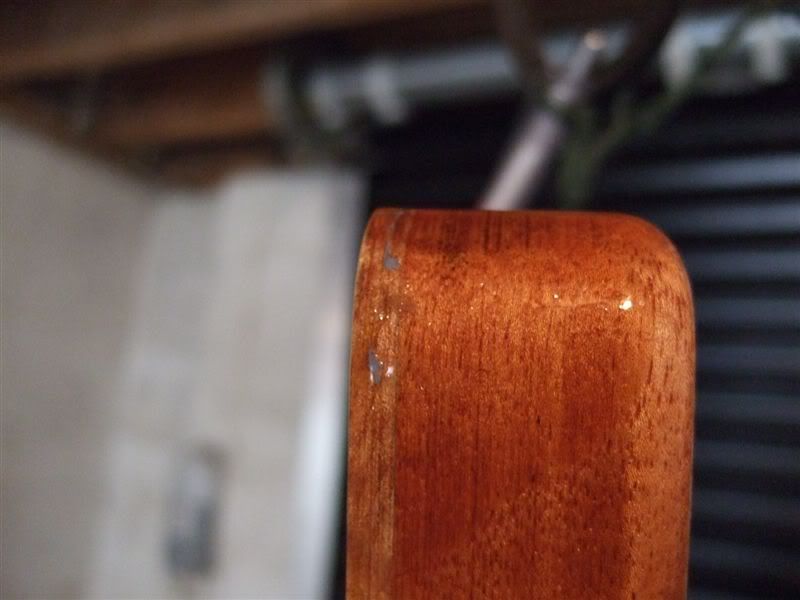
First up : superglue. No rocket science here - got in a well ventilated area (just inside my open garage door) got some protective gloves on, squirted the glue on to the body and quickly spread it out with my gloved fingers. I was particularly pleased by the way the wood darkend as soon as it went on and less pleased by the lapse in concentration which meant that my glove got stuck fast to the setting glue - see pic - DOH! Still, better than flesh . . . I couldn't be bothered to sand it back and do it again so some small pieces of rubber remain embedded as a reminder. I only meant to coat the top but it spilled down the sides a bit, so I did all the sides too. It set within minutes, did a second coat and rubbed it back a little with sandpaper. Next the actual finish : I was recommended Rustin's Clear Plastic as it can be brushe
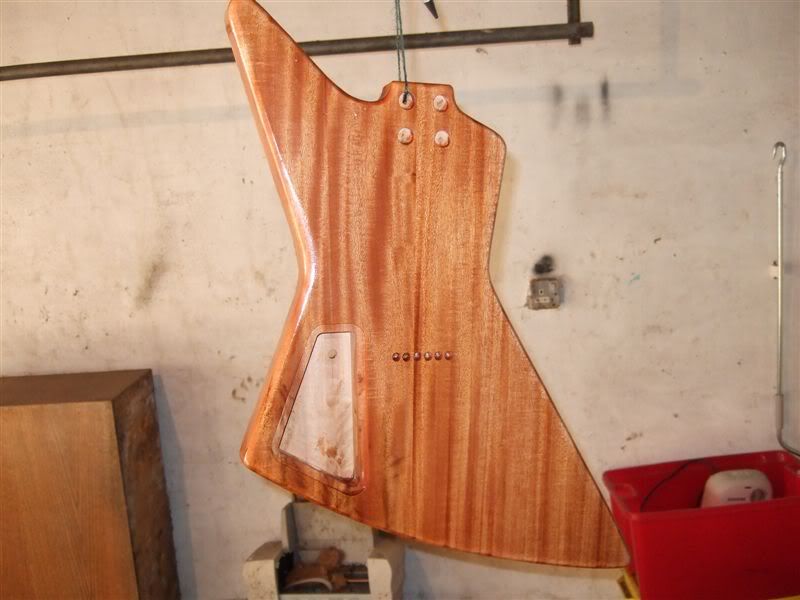 d on and gives a good finish. I mixed up the full 250ml in the bottles but that was FAR too much - I used very little to get my 3 good coats. Simply brushed it on as per the instructions - a very light sand between coats then left for 24 hours to harden.
Now the big challenge : with so little preparation (and lets face it, effort compared to a 'proper' finishing job, how good could I get the final surface finish ? As I explained above, the guitar face was no longer flat - the hollows and ridges made block sanding fairly ineffective - so I went through grades of abrasive (240, 400, 800, 1200) using a sanding block and then with the MkI Index Digit (TM) to get in to the dips. About half way through this process it actually started to look pretty ok. To finish it off I dug out some 0000-grade steel wool I had from a previous guitar modding effort and used that, then used the car swirl-removing cream from that same project to buff it up a bit more.
You know what - I think the end result has a certain workhorse charm !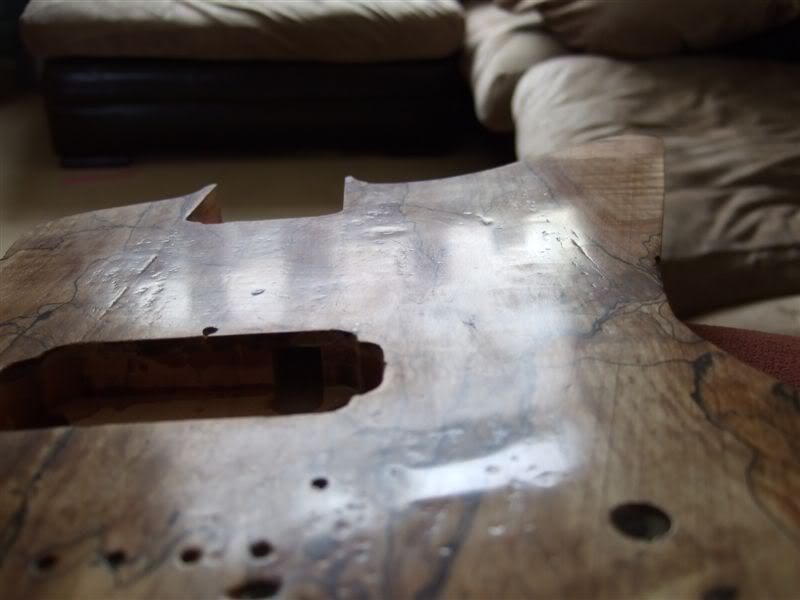
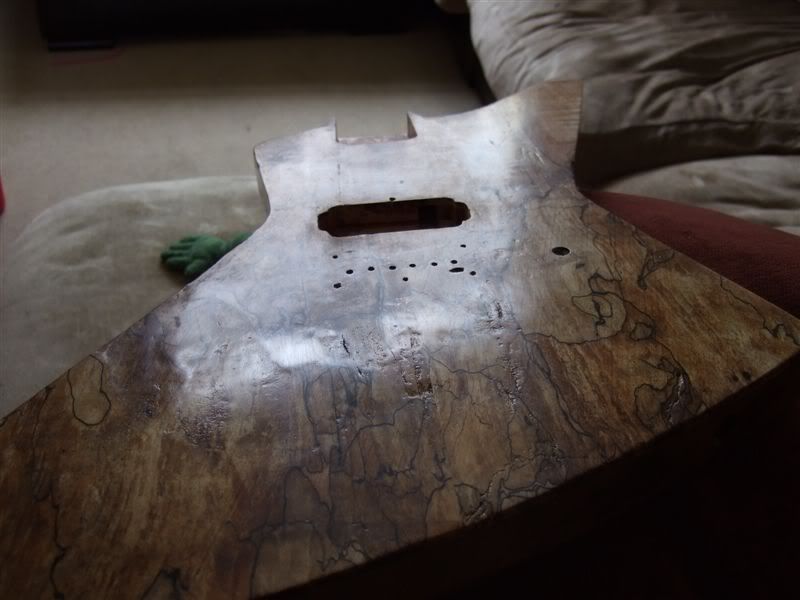
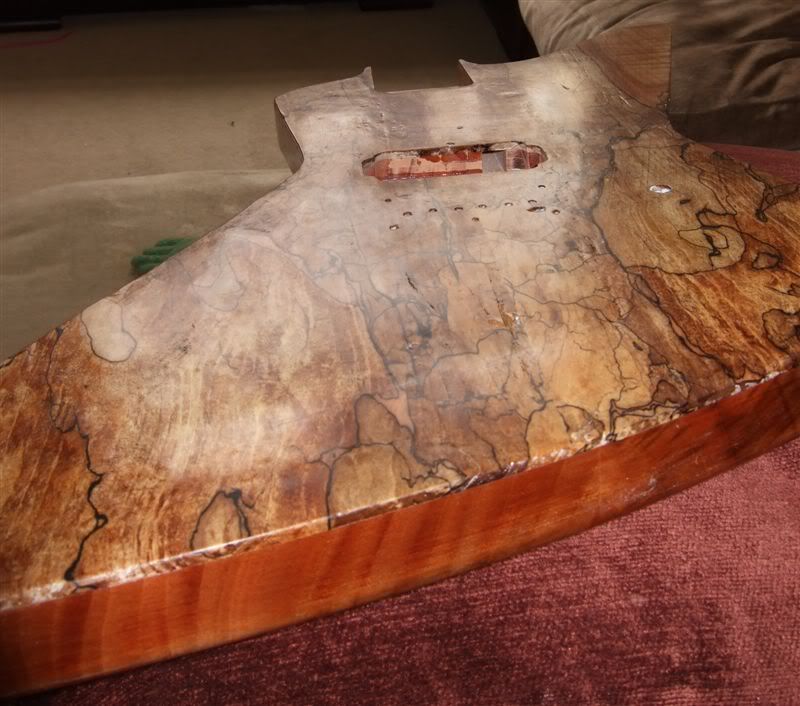

It was time for a big decision : pop round to a bandmate's house and use his router and handheld drill, or take a trip to a friend's very well-equipped workshop and make a nuisance of myself for the day. I elected to do the latter, so although there were CNC machines and all manner of nice toys there I restricted myself to tools that I could handle myself : basically a pillar drill and a plunge router, plus hand tools like chisels. It went a bit like this:
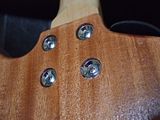
First step was to rout out the neck pocket. The first observation was that an Explorer body shape and a bolt-on Fender-scale neck means no upper fret access - se I decided to ignore the headstock-end holes in the neck heel, and set things out such that the neck is less far in to the body than normal on a bolt-on - not by much but enough to help fret access. For that reason I am using ferrules rather than a neck plate under the neck bolts and will have to drill 2 additional screw holes in the neck heel.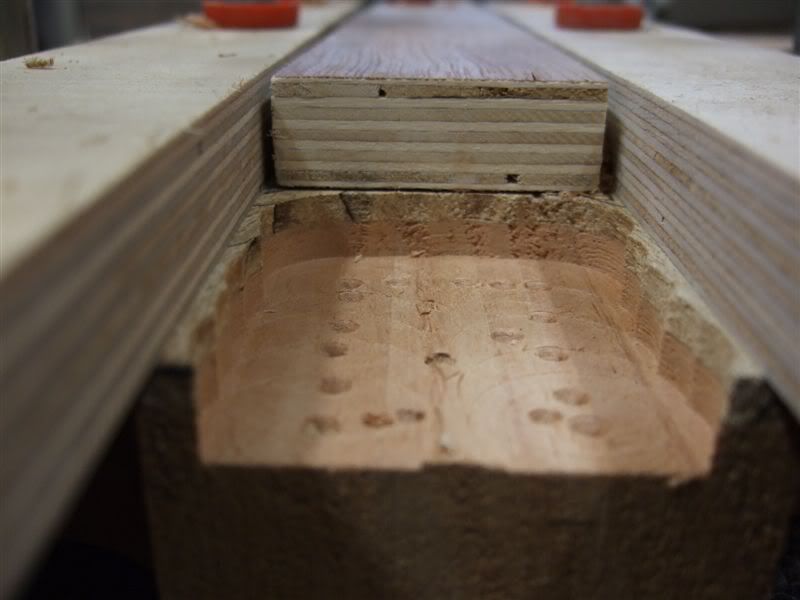
Step 1 : use a pillar drill and Forstner bit to quickly and roughly get rid of most of the neck pocket material.
Step 2 : Rout the rest of the pocket to the correct depth and a clean edge. the pencil line shows the curved profile at the end of the neck - time for the chisels . . .
Step 3 : Chisels out to clean out the curved end of the neck pocket - very impressed with myself so far !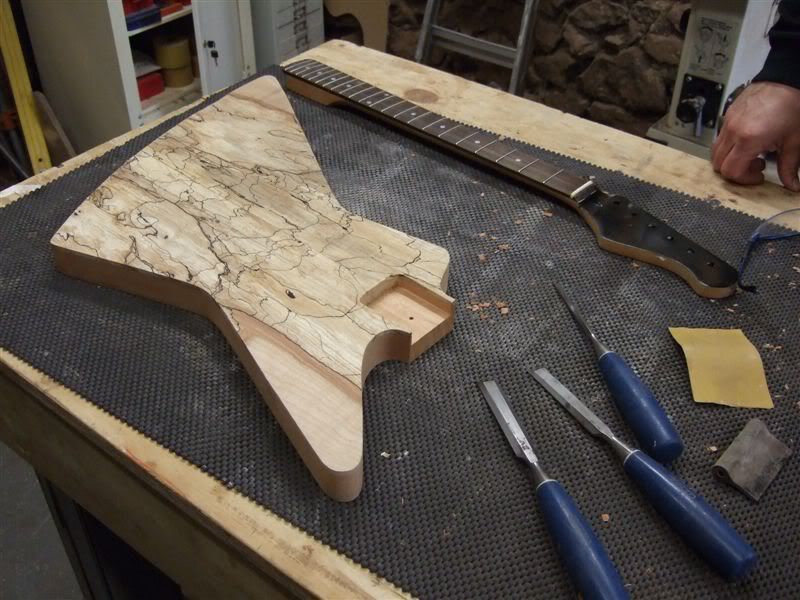
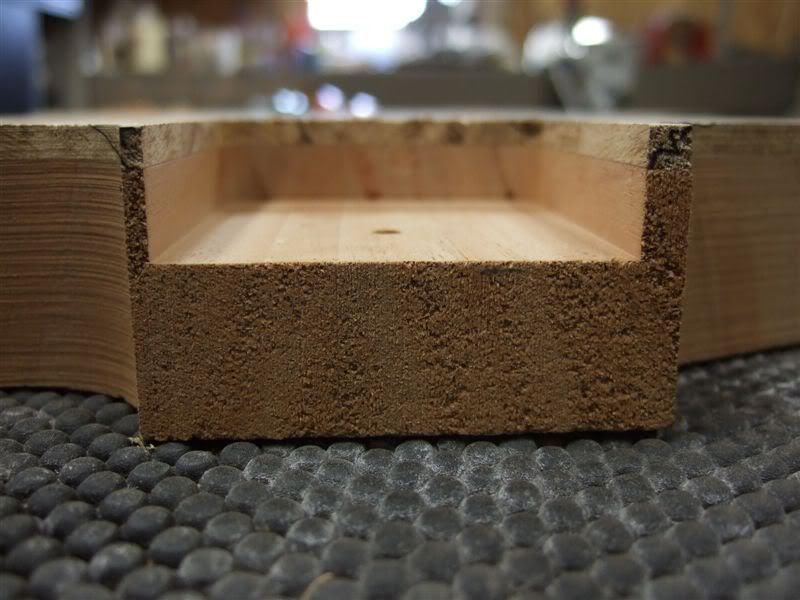

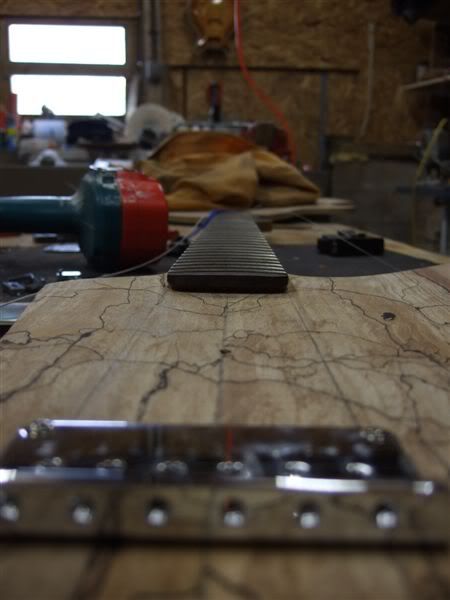
Next the bridge position needed to be set. This involved some careful measuring, the finding of the centreline and then some 'by-eye' adjustments to get a couple of guide strings centred just so. Then the position of the bridge was marked and the locating holes and string holes were drilled (the bridge is a fixed, through-body strung type complete with rear ferrules)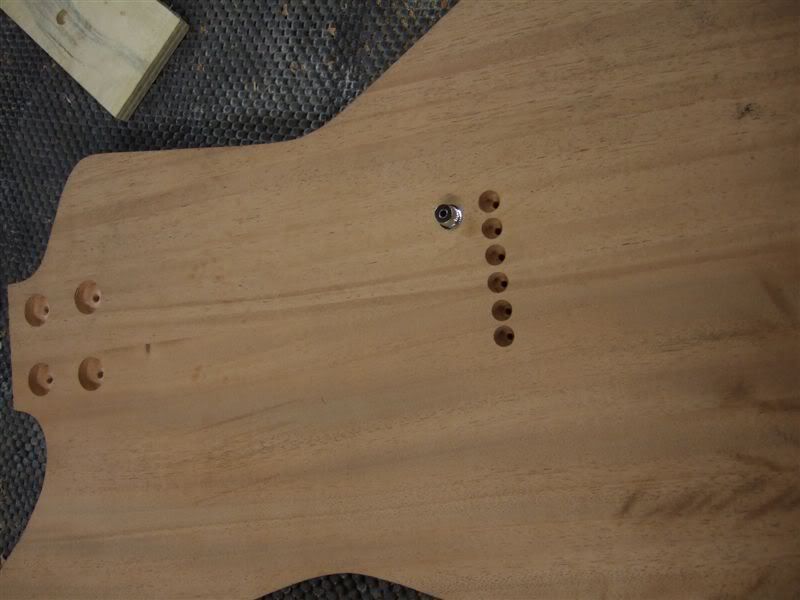
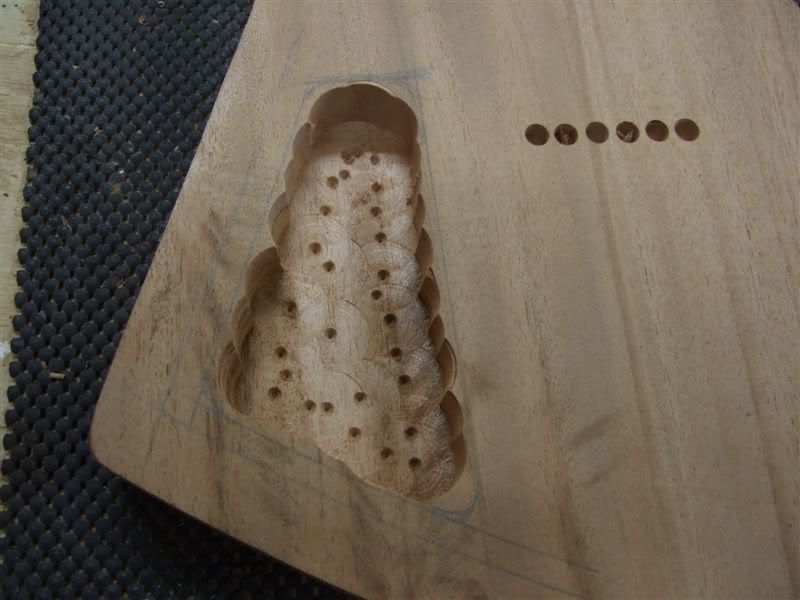 Same 2-step drill-then-rout approach to the control cavity (single volume, jack socket on the side, no tone - nice and simple but with room for future upgrades)
Then use a different router bit to round over the back of the body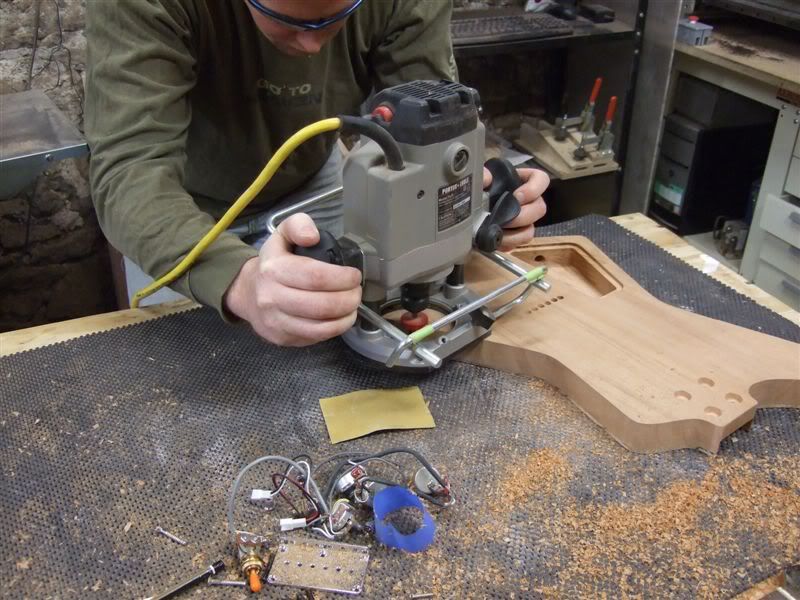
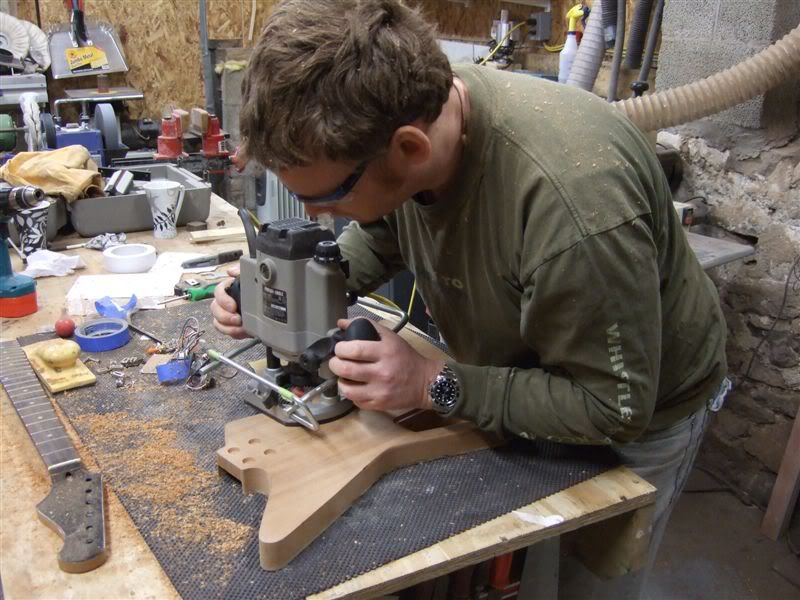
The pickup cavity and volume and jack socket holes were also drilled (or drilled then routed in the case of the pickup cavity). The end result so far is this